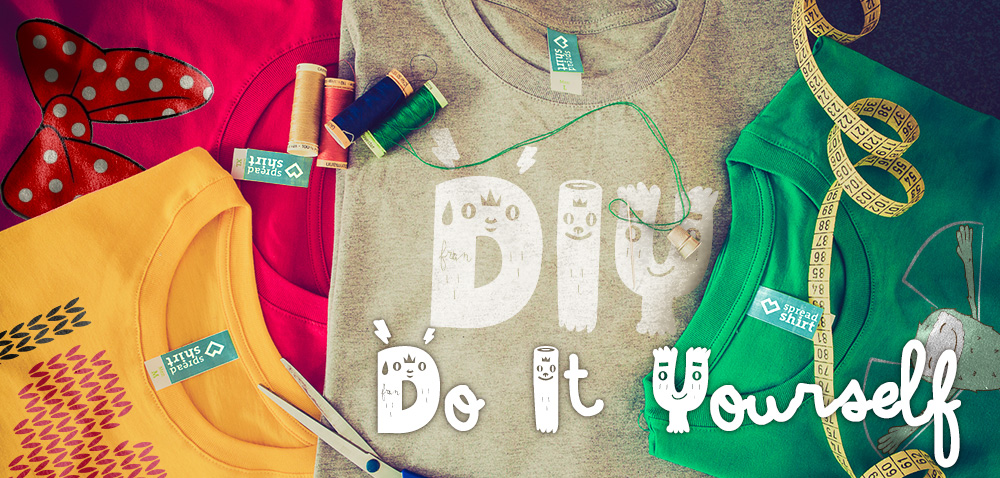
It’s hand-made, it’s different, it’s French. Sounds like something you could like? Then read on! Our French blogger Marion will inspire you with her little tutorial on how to make something refreshingly different out of a few ordinary objects. On her “Blog de la Dame Moustache“, Marion introduces slightly wacko ideas to inspire folks to sew and tinker. Today she’s gonna show us how to turn an old tank top or tote bag into a piece of artistic DIY clothing, including a good old tape-jam.
What you need for the top:
– a tank top. We’ve used Spreadshirt’s Premium Tank Top in white
– 150cm (5 feet) of satin band (thin, no bigger than 1cm/0.3“)
– a black fabric marking pen
– textile adhesive (if you prefer gluing to sewing)
– sewing needle and black thread (if you prefer sewing)
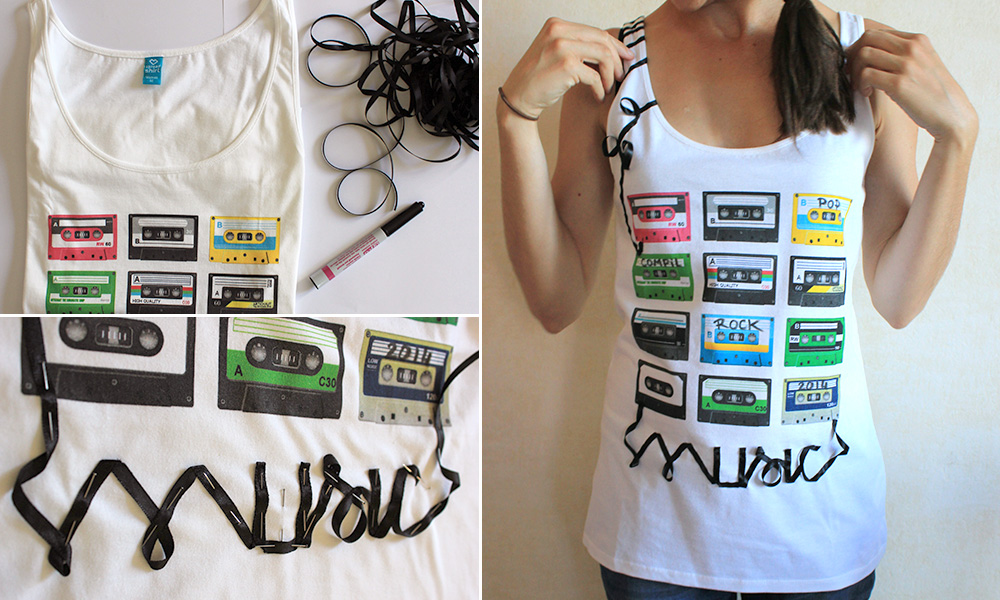
This is what to do:
1. Write the names of bands or music styles on these tapes
2. Now for the tape jam: write letters or words with the satin band (z.B. music)
Tips on gluing: put small quantities of glue on the satin band and fixate the band with your needles in a way that you shape letters (approx. 15 minutes).
Tips on sewing: before sewing the band to the fabrics, fixate the letters with needles.
3. If you use the satin band to wrap it around one and sew it to one of the straps, you’ve completed your stand-out tank top that you won’t see anywhere else.
Don’t forget: the textile fabric marking pen needs to be fixated with the iron so that it doesn’t wash off
For the tote bag you need:
– liquid fabrics ink in 3 different colours, preferably light ones or neon colours. Well-covering paint should be diluted so that the design can still be seen.
– a brush to apply textile ink
– pearls or sequins
– fabric marking pen (to add something to the design or make its rim stand out more)
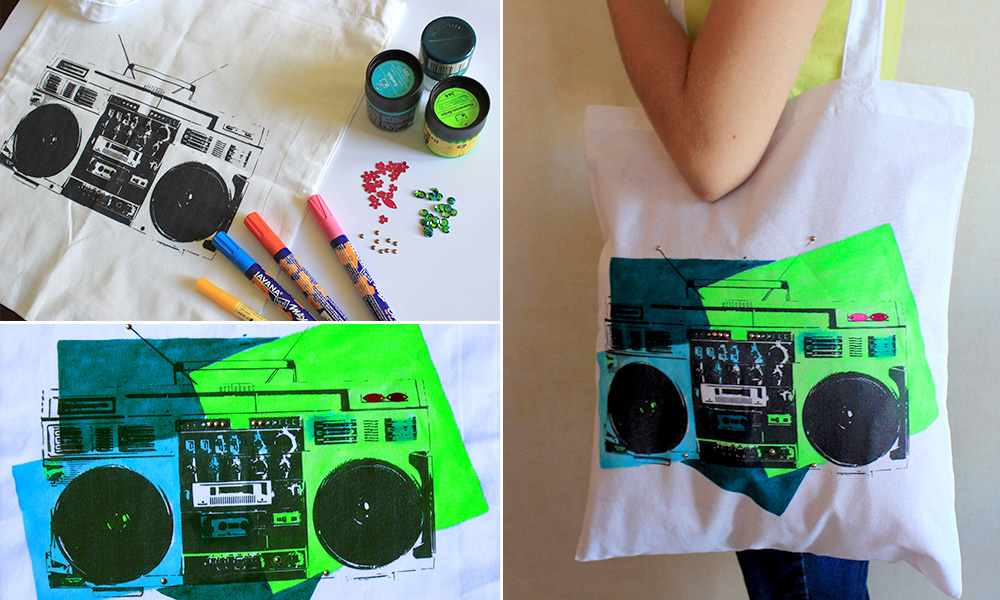
Get started:
1. Put a piece of cardbox into the bag to prevent the ink from saturating.
2. Use a pencil to draw 3 triangles or other geometrical figures (using a pencil let’s you erase it if it doesn’t turn out well).
3. Apply the colours. A darker colour in the background will have the lighter colours in the foreground stand out nicely.
4. Let colours dry (use a hairdryer to accelerate) and fixate them with an iron.
5. Glue on the pearls or sequins to highlight the buttons and other details of the tape recorder.
Did you like this little tutorial? And did you get inspired to try it yourself? Or maybe you have your own DIY clothing ideas? We’re dying to get your feedback!
And a big THANK YOU to Marion for her ideas!