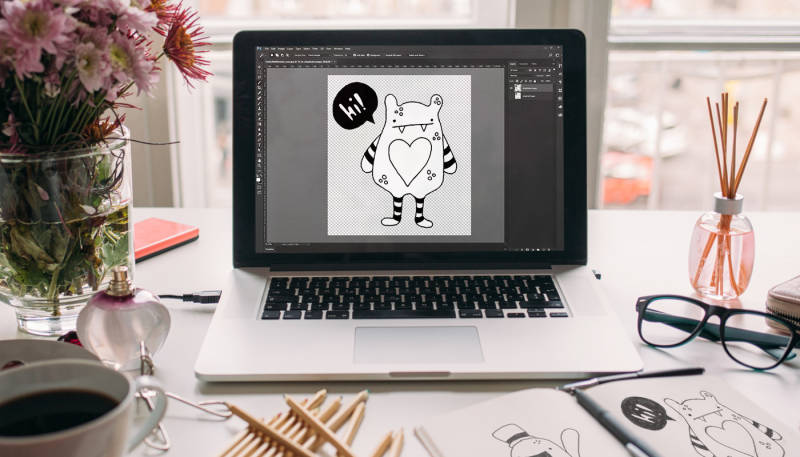
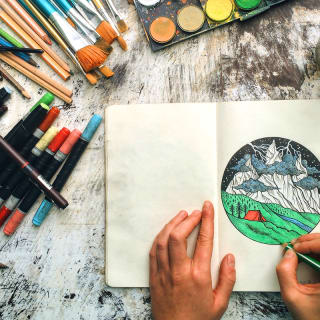
Your sketches and drawings deserve maximum attention, and turning your sketches into digital designs is the first move closer to the limelight. Our step-by-step tutorial shows you how to digitise hand-painted drawings with Photoshop to get them ready for sale on the Marketplace.
This is how you digitise drawings in Photoshop
You’ll need to have the Photoshop software installed to make use of this tutorial. Photoshop CC (the current version) can be downloaded as a free trial version. The full version of the older Photoshop CS2 release can be downloaded free of charge.
1. Draw
- Use a smooth, pure white piece of paper
- If you don’t want the digitalised image to look like a pencil drawing, you should use a black fineliner to trace the lines to make them look clearly defined
2. Scan
- Scan your drawing instead of taking a picture of it (this way digitising your drawing will be much easier and quicker)
- Pencil drawings are best scanned in black&white
- Choose a high resolution (300dpi will render the design in its original size. 600dpi will help you crop (zoom in) a section of the design later without losing your clearly defined lines
- In case you should have a camera handy, be sure to get the illumination right and hold the camera directly above the drawing when taking the picture
3. Adjust contrast and colours
Your goal it to get the final lines all black and the background all white. Any pencil lines that you don’t want to see in your final digitised illustration should disappear. This is how:
- Open your .jpg file in Photoshop: File → Open
- You can see the original layer in the Layers Panel (leave this one alone)
- Duplicate it for future editing by left-clicking on it and choosing Duplicate Layer
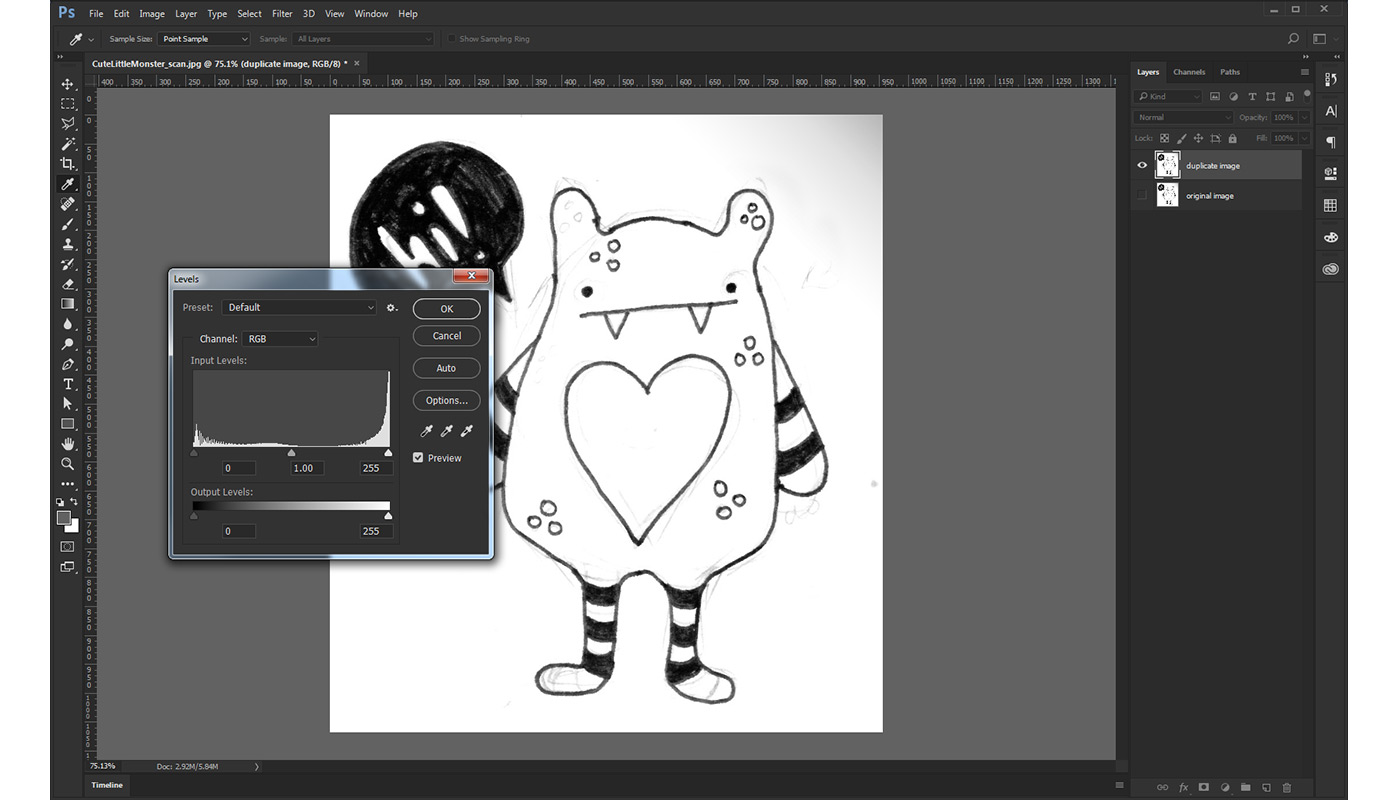
- Go to Image → Adjustments → Levels to open a histogram that gives you a chance to adjust the brightness levels:
- Push the toggle on the left to the right until all relevant lines in your design have turned black
- Push the right toggle to the left until unwanted pencil lines have disappeared and the background has become completely white
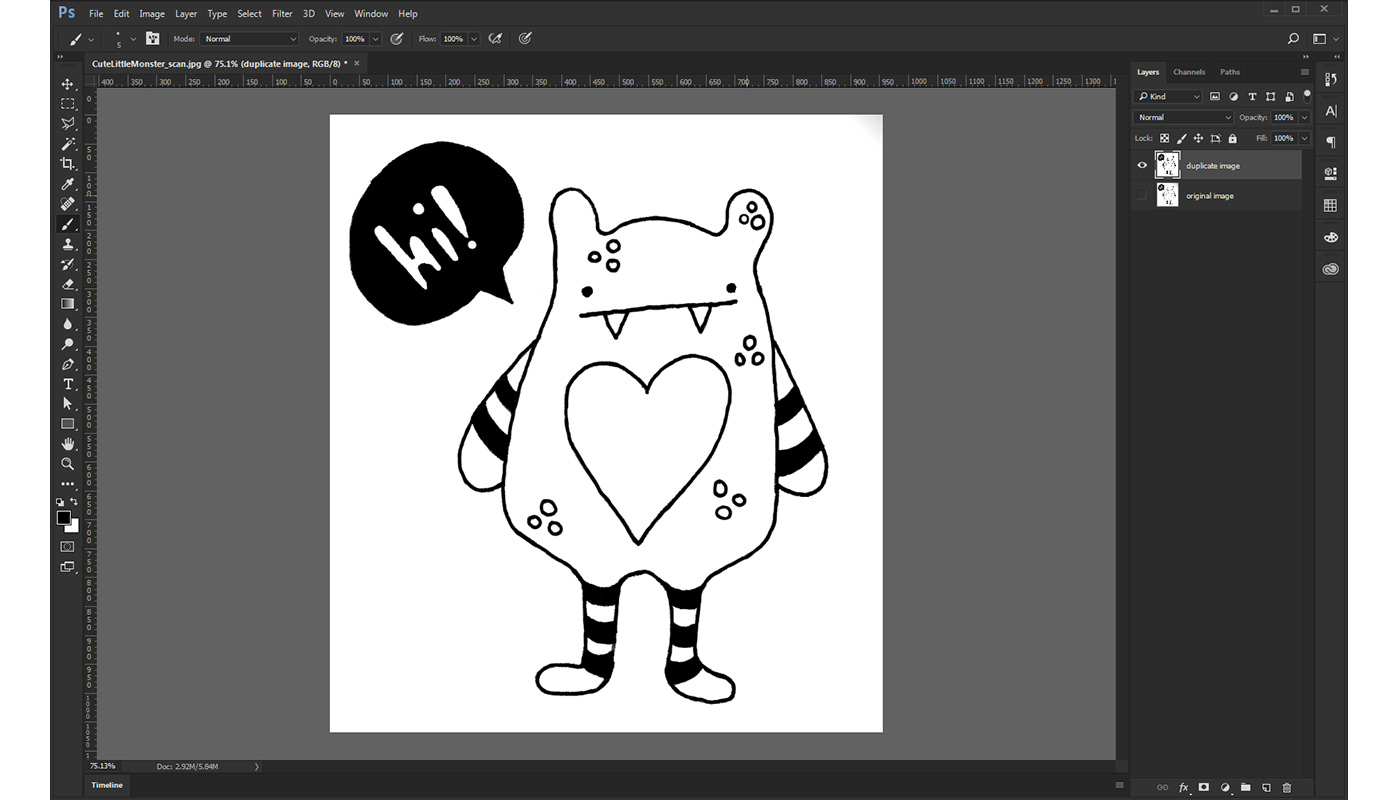
4. Final touches
- To erase any unwanted lines, use the Brush from the tool bar, set the colour to white and brush over those unwanted lines
- To retouch some of your black lines, use the Brush tool with the colour set to black.
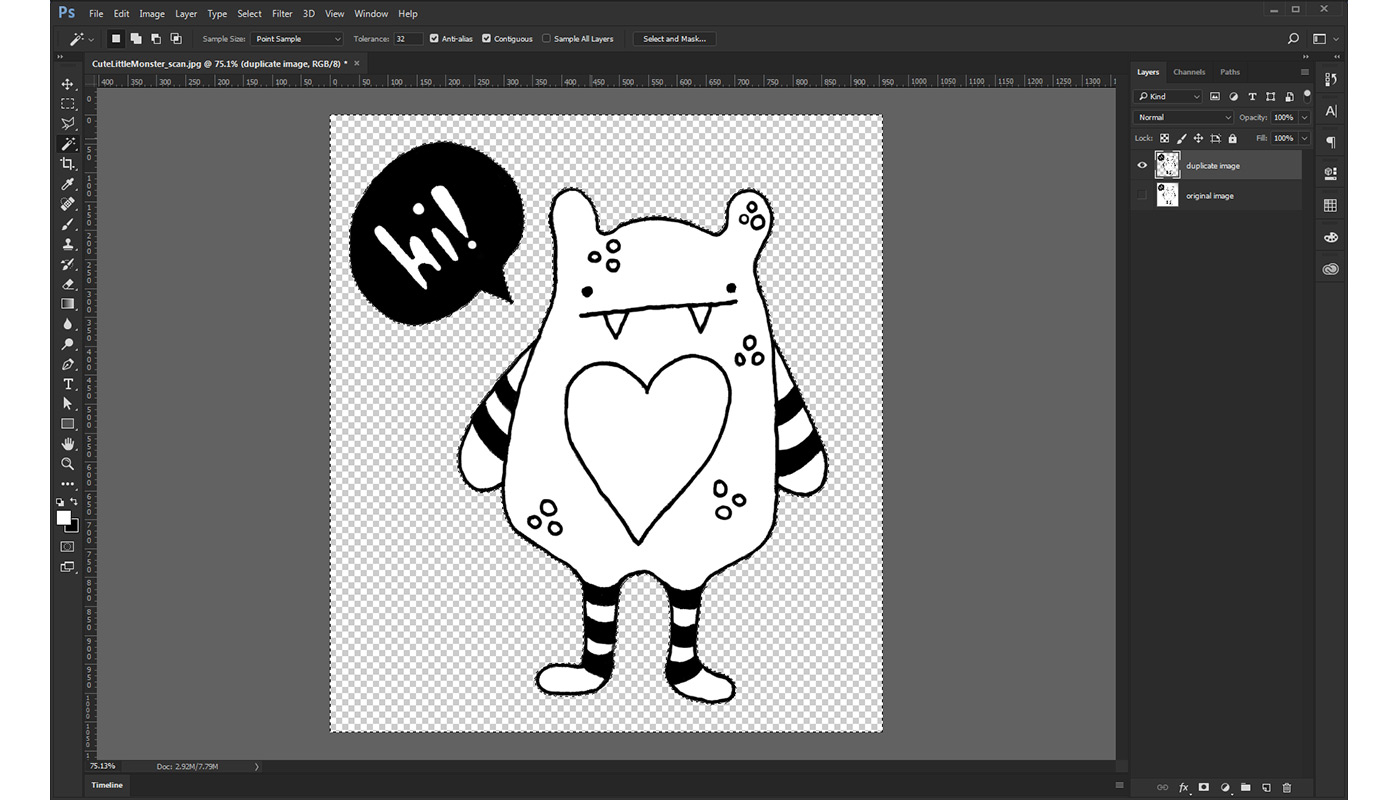
5. Delete background
- Hide the original layer by clicking the eye icon next to the layer’s name.
- Make sure that scanning didn’t cause any unwanted shadows on the edges. If so, you can use the Brush tool and paint over these areas with white colour.
- Use the Magic Wand from the tool bar on the left, and click on the background area you want to remove. Hit the delete button and do the same with the other unwanted areas.
- The transparent background is now represented by a chequered pattern.
Tip: To make sure your brand new digitised illustration will come out nicely on coloured T-shirts or mugs, add a new layer and fill it with a contrasting colour by using the Paint Bucket tool. Now select the layer with your drawing and use the Eraser tool to remove any unwanted white spots.
6. Crop and save an image
- You want to make sure that your design will have its full size on the T-shirt’s print area later. Crop to your design by getting rid of peripheral transparency areas: Image → Trim → Based on Transparent Pixels
- To resize your image, go to Image → Image Size (The size of your design should not exceed 4000 x 4000 pixels)
- Save your design as a .png image and upload it at Spreadshirt

The procedure shown here is only one of many ways to digitise a drawing. Every designer develops his own technique over time. Take your time to discover many more functions, and you’ll be able to further edit and develop your design.
Want to make money with your creativity? Monetize on your designs by opening a 100% FREE online shop today!
Please share a few tips and tricks with the community, and let us know what other kind of tutorials you’d find helpful!
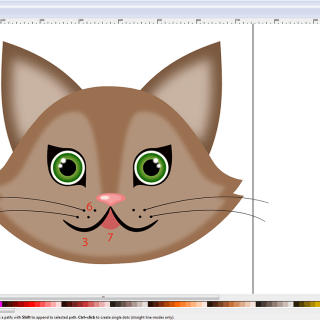
Printently, you can always use the Image Trace functionality in Illustrator to convert a scanned image into vector art and scale it. It takes some tweaking and fine-tuning, though
Hi, that’s a good point! Might be a topic for a follow-up tutorial?
The advantage of a vector design over a pixel design is that customers have the freedom to change the colours of it. Also they can enlarge the design without losing quality.
Great tip! Though I much more fun of illustrator. So I can enlarge it to what size I want.